
bts 01: altering shorts that are too small
Behind the scenes: a series for paid subscribers of Bitches Make Stitches. In this episode, we're extending the waistband of denim shorts by adding side panels.

Hey Bestie,
I have a tutorial to share with you! In this edition of Behind the Scenes, we are learning how to extend the waistband of denim shorts by adding in side panels. If you’ve ever been upset about your favorite pair of shorts suddenly feeling too small, this tutorial is for you.
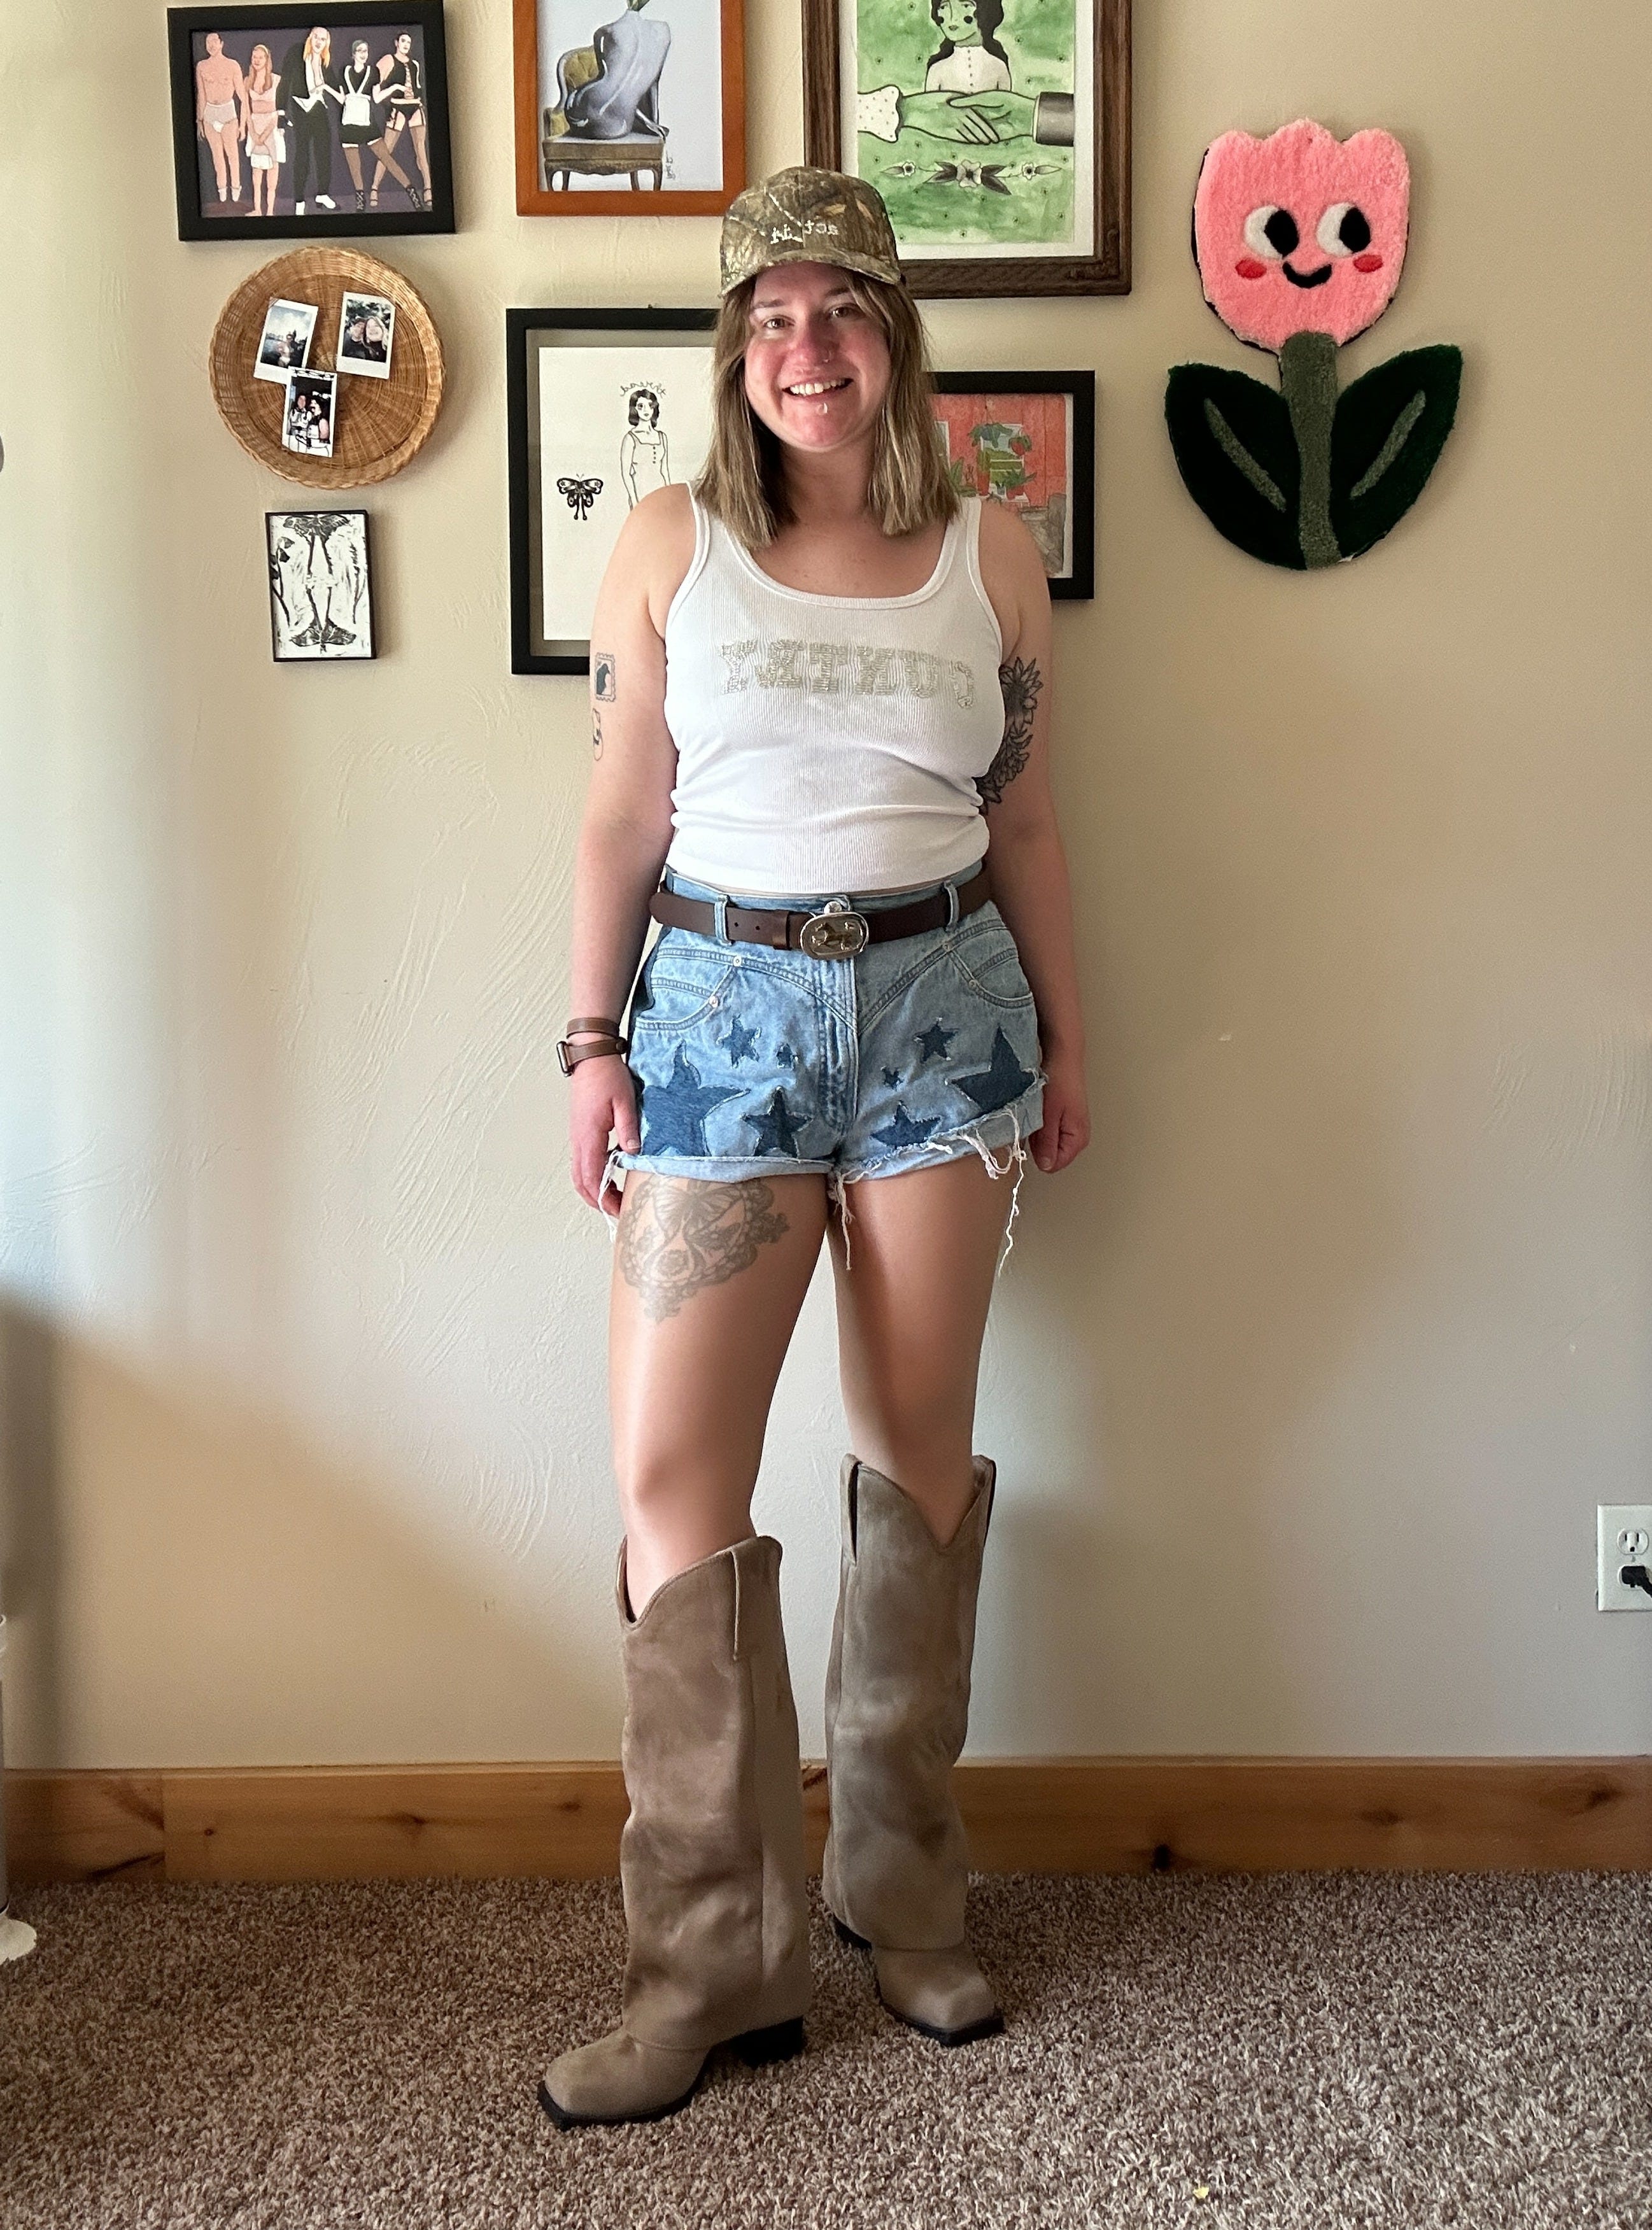
Last month, I flew to Atlanta to see Beyoncé’s Cowboy Carter concert. Of course I made my costume, and have had many requests to do a tutorial on how I made the shorts. Since y’all are my ride or dies, I’m sharing the tutorial here first.
My inspiration:

The base of the shorts was a pair of thrifted western denim jeans, that fit perfectly when I bought them, but fluctuations in weight have made them unreliable.
Materials:
Sewing machine that can handle sewing through denim
Denim needle for your sewing machine
Tailor’s tape measure
Iron and ironing board
Pair of denim jeans or shorts
Matching thread
Topstitching thread
the tutorial begins here!
These shorts were created from a pair of thrifted western style denim jeans that no longer fit. This tutorial is perfect for folks whose weight fluctuates, and find themselves having to buy new clothing every season to fit their changing bodies.
1. Cut the pants into shorts
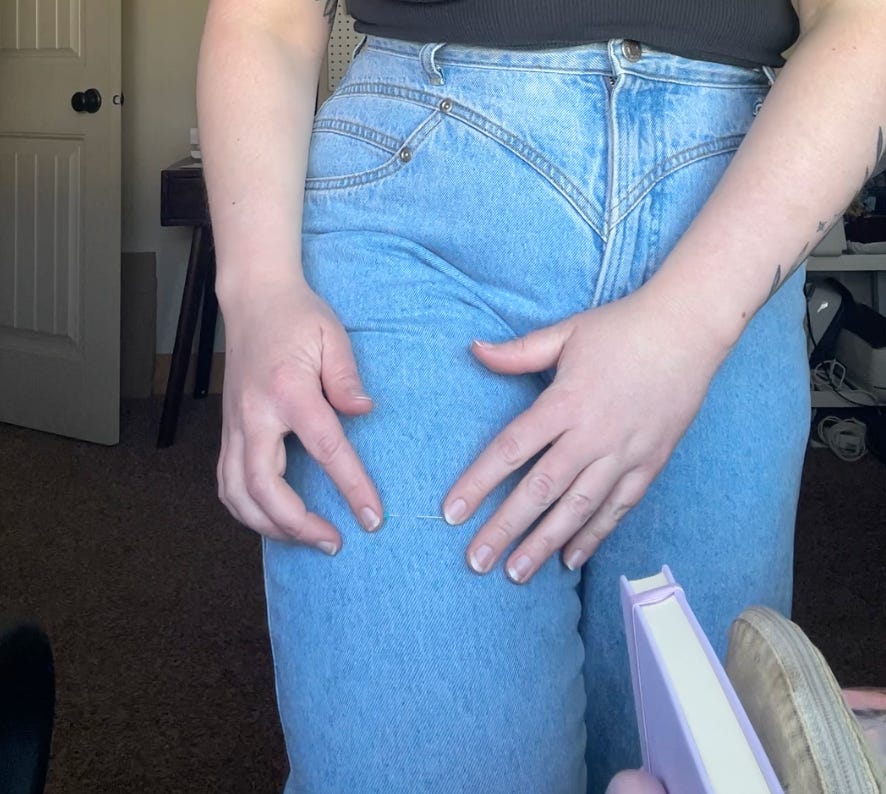
Add a pin to the pant leg about mid-thigh, making sure you don’t cut them too short on this first cut. It’s easier to cut them shorter, but tough to add length.
2. Seam rip the side seams of the shorts
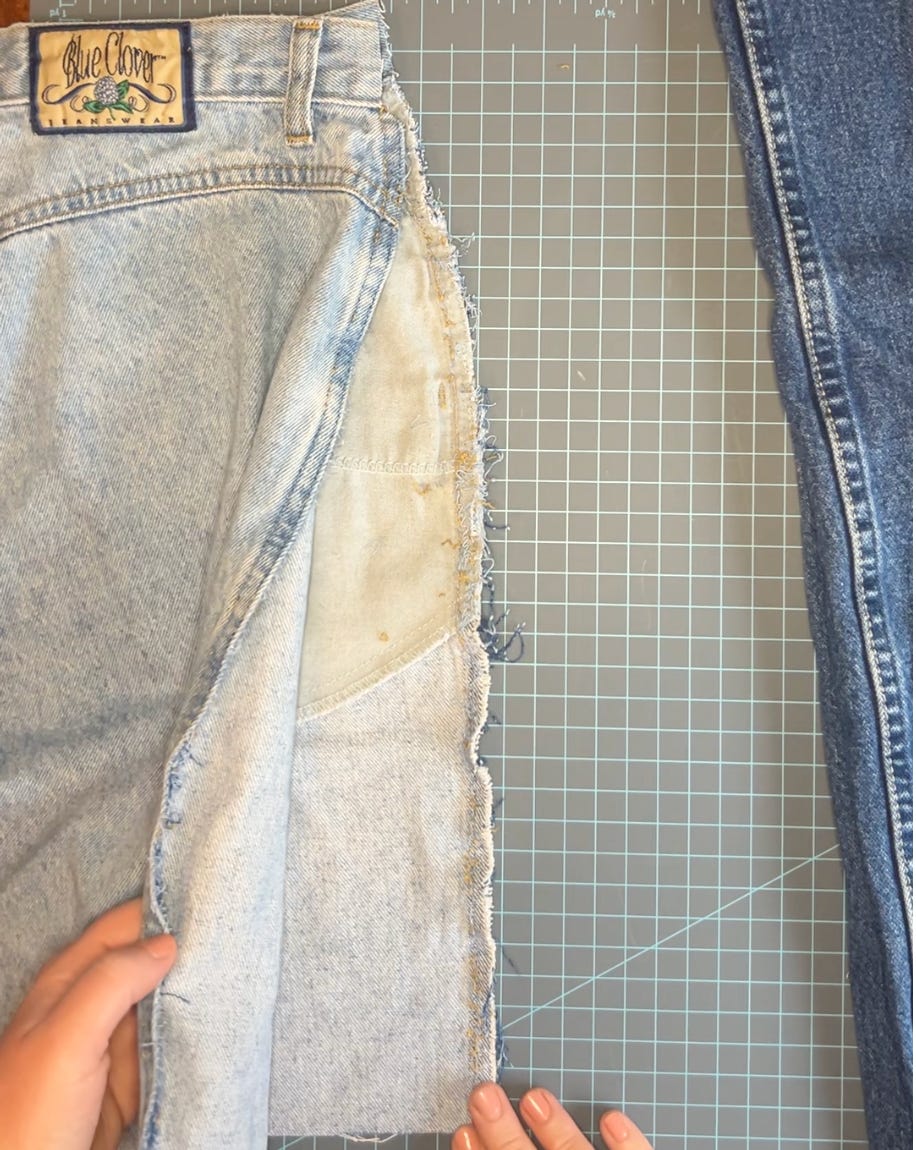
Using a seam ripper, rip out the threads attaching the front and the back of the shorts together, on both sides. When you get to the waistband, cut the waistband in line with the side seam of the shorts. This is the most tedious step, since most shorts have an overlocked edge on the outer seam.
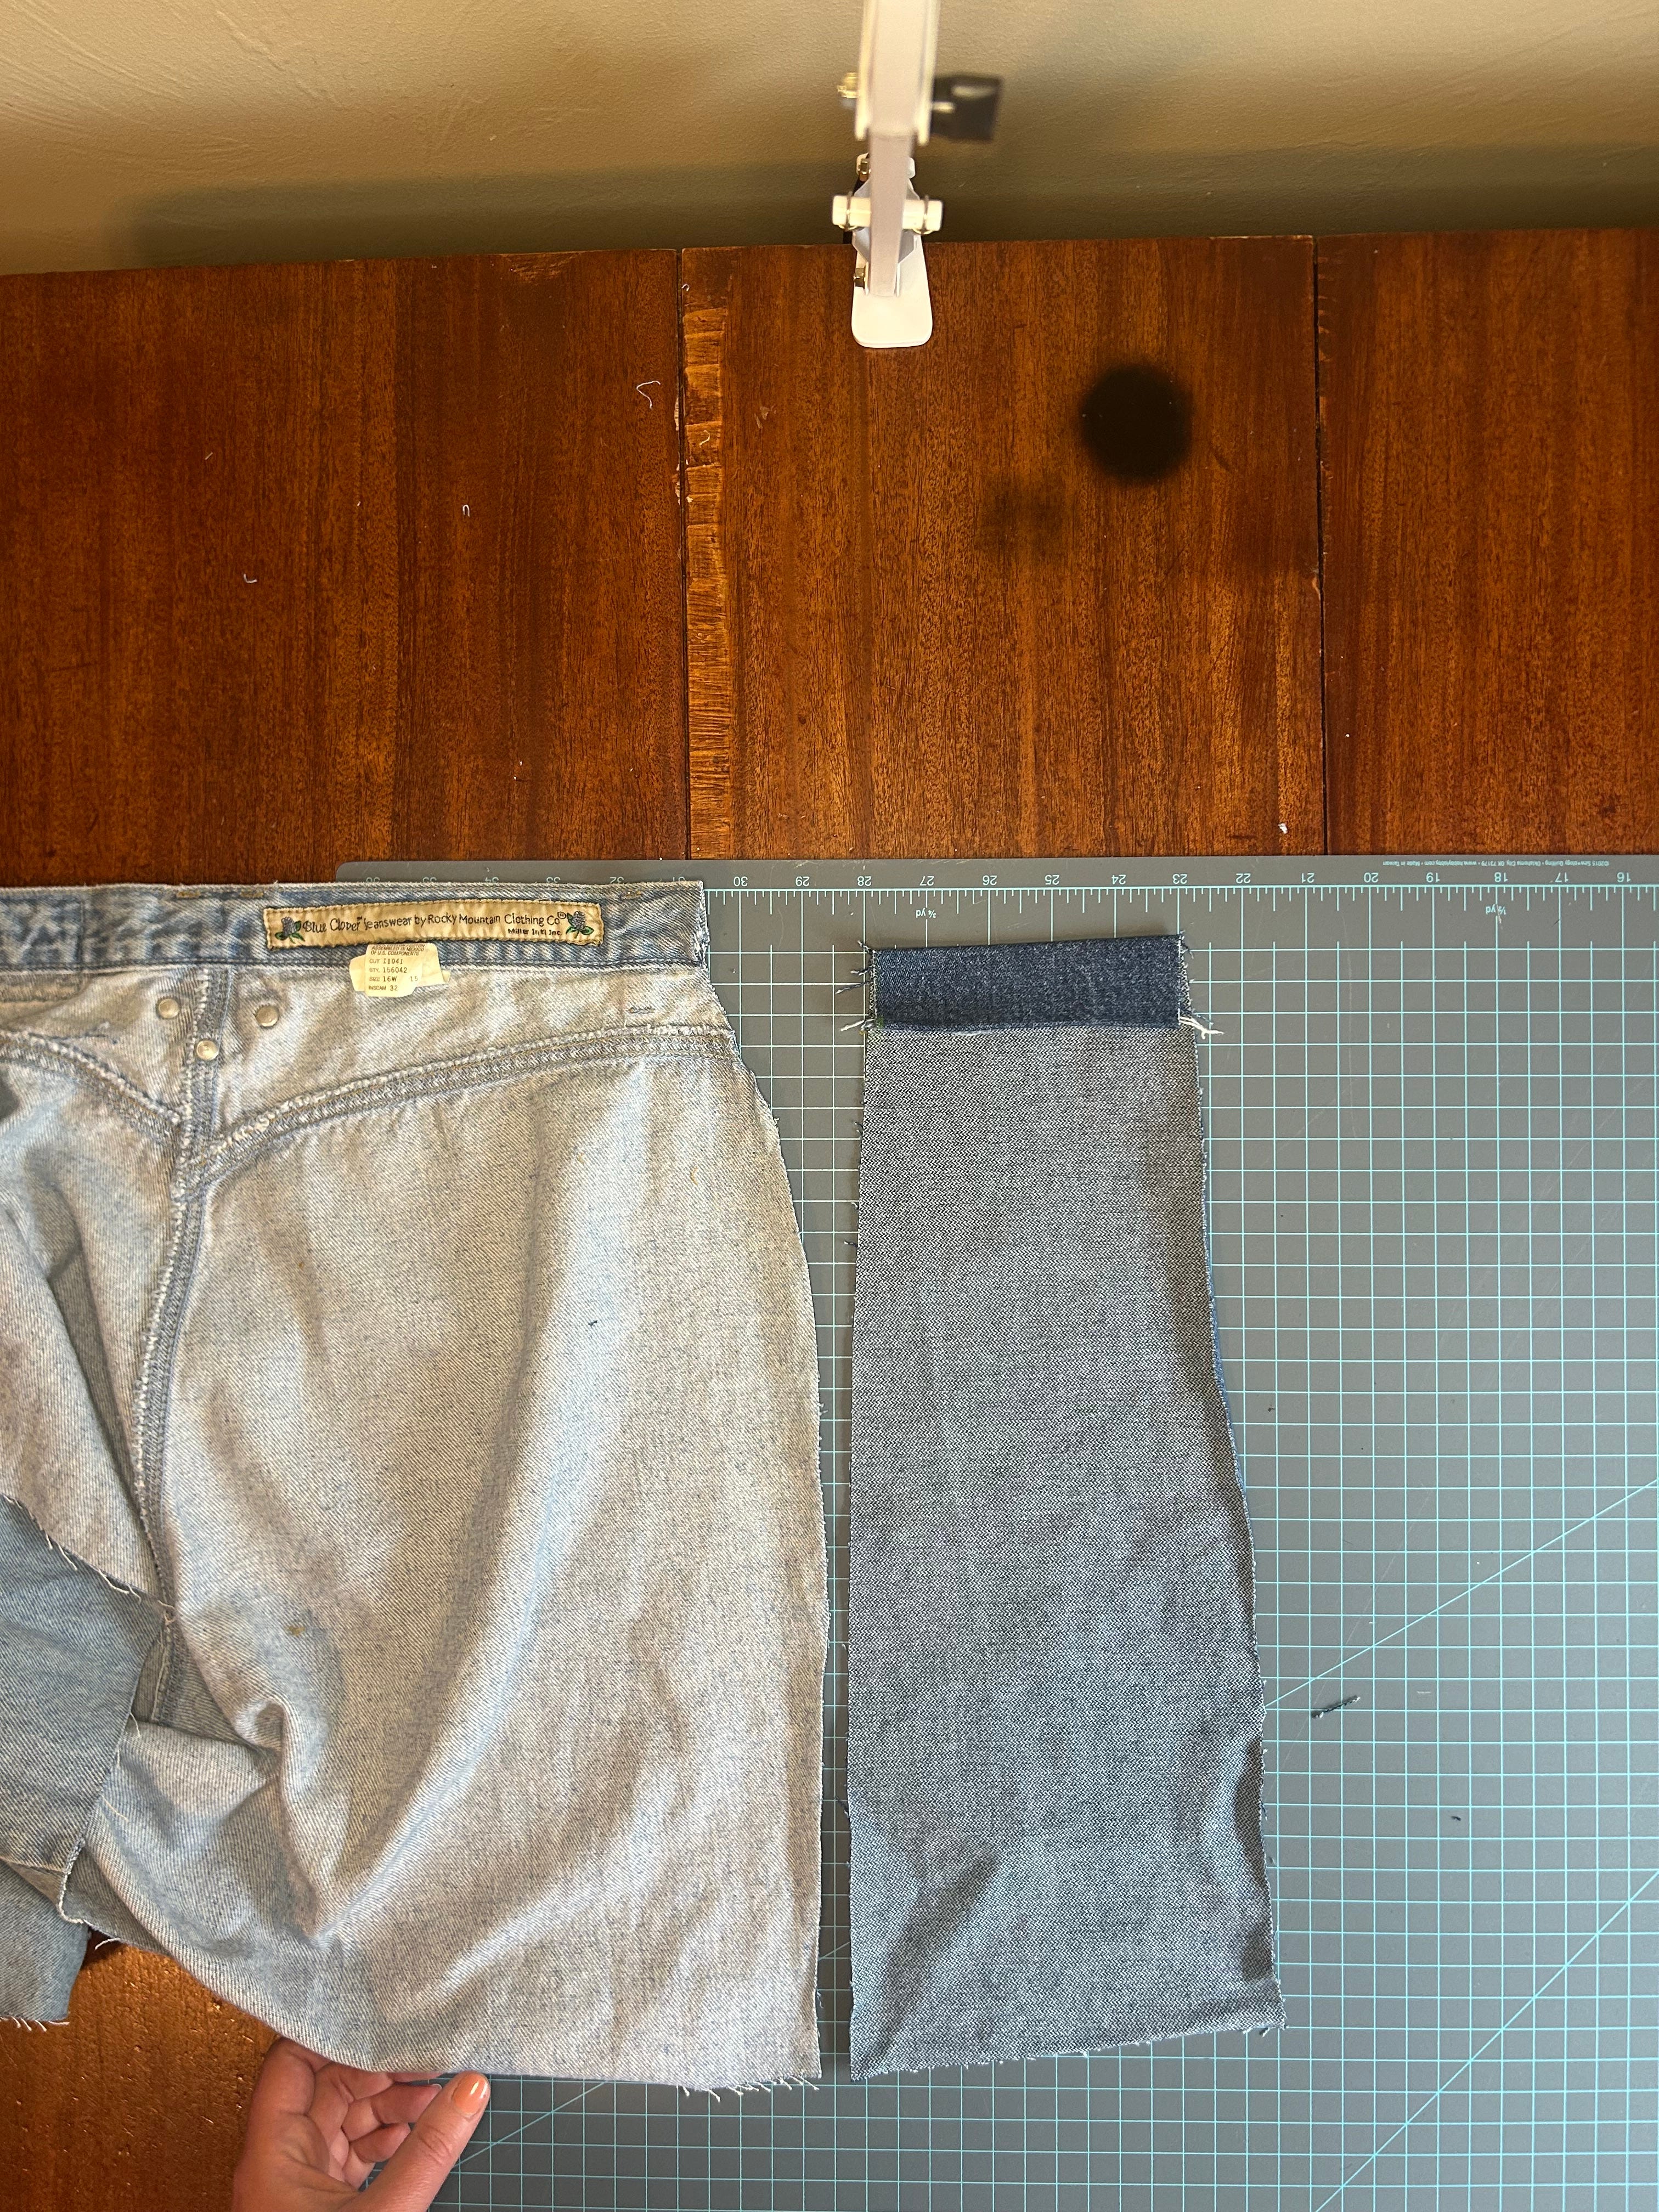
3. Choose the fabric

Now, choose a denim color for your side panels. I decided to go with a contrasting color of denim, which I pulled from my bin of denim scraps. If you are wanting the panel to blend into your shorts a bit more, create the side panel from the fabric of the pant leg that you just cut off.
4. Measure the side panels
Next, measure your waist to determine how wide the side panels need to be. Using a tailor’s tape measure, measure the circumference of your waist — where the waistband of the shorts sits on your body. Make sure you do not hold the tape measure too tight or too loose, keep it flush to your body.

Then, measure the waist of your current shorts. Calculate the difference between the short’s waistband, and your waist. Example: My waist is 37.5”, and the shorts’ waist circumference is 34”. That means I need to extend the waistband of the shorts by 3.5” using added side panels.
Since there are two side panels, divide this number (for me, 3.5”) in two. This leaves me with 1.75”.
Before you cut out the side panels, remember that we need to add seam allowance. Measure the existing seam allowance (distance between the raw edge of the shorts and the seam you are sewing) on the shorts. For my shorts, the seam allowance was 1/4”. Since each side panel will have 2 seams (one on both sides), add 1/4” to each side, aka 1/2” to the width of the panel. With the example measurements, this puts each side panel at 2.25” wide before sewing.
Next, measure the length of each panel. We are going to mimic the waistband at the top of the panel, so measure the width of the waistband (usually 2” or less). Then, add an extra 1/4”, so that we can create a double fold hem. For the final length of the panel, measure the length of your shorts, and add the width of the panel, plus 1/4”. Example: My shorts were 16” long, the waistband was 1.5” long, and we are adding an extra 1/4” for the folded hem. The total length of my panel will be 17.75”.
The final measurements of my panel were 2.25” x 17.75”.
Cut out two panels using this measurement.
5. Sew the side panels
First, sew the mimicked waistband. Fold the top of the panel down 1/4”, towards the wrong side. Press with an iron. Then, fold again the width of your waistband (for me, 1.5”) and press again with an iron. Using the topstitching thread, top stitch this down by sewing as close to the bottom fold as possible.
Now, we are going to sew on the side panels in order to extend the waistband. With right sides together, match up the sides of your panel to the sides of the shorts. Use pins to keep the fabric in place.
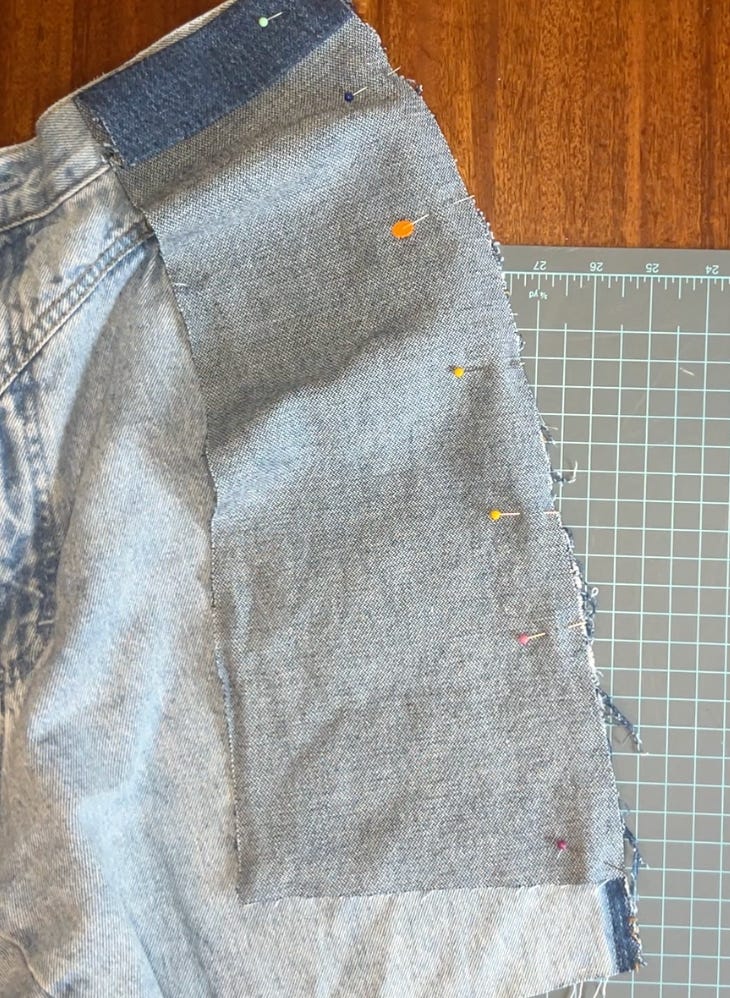
Before you start sewing, adjust your sewing machine settings by setting the stitch length to 3.5. Then, starting with one side of the first panel, carefully sew the panel to the shorts. Don’t forget to add a back tack (reverse stitch) at the beginning and end of this seam. Repeat this step for the second side of the panel. Finish each raw edge with either a zigzag stitch or an overlocker.

6. Add a finishing touch
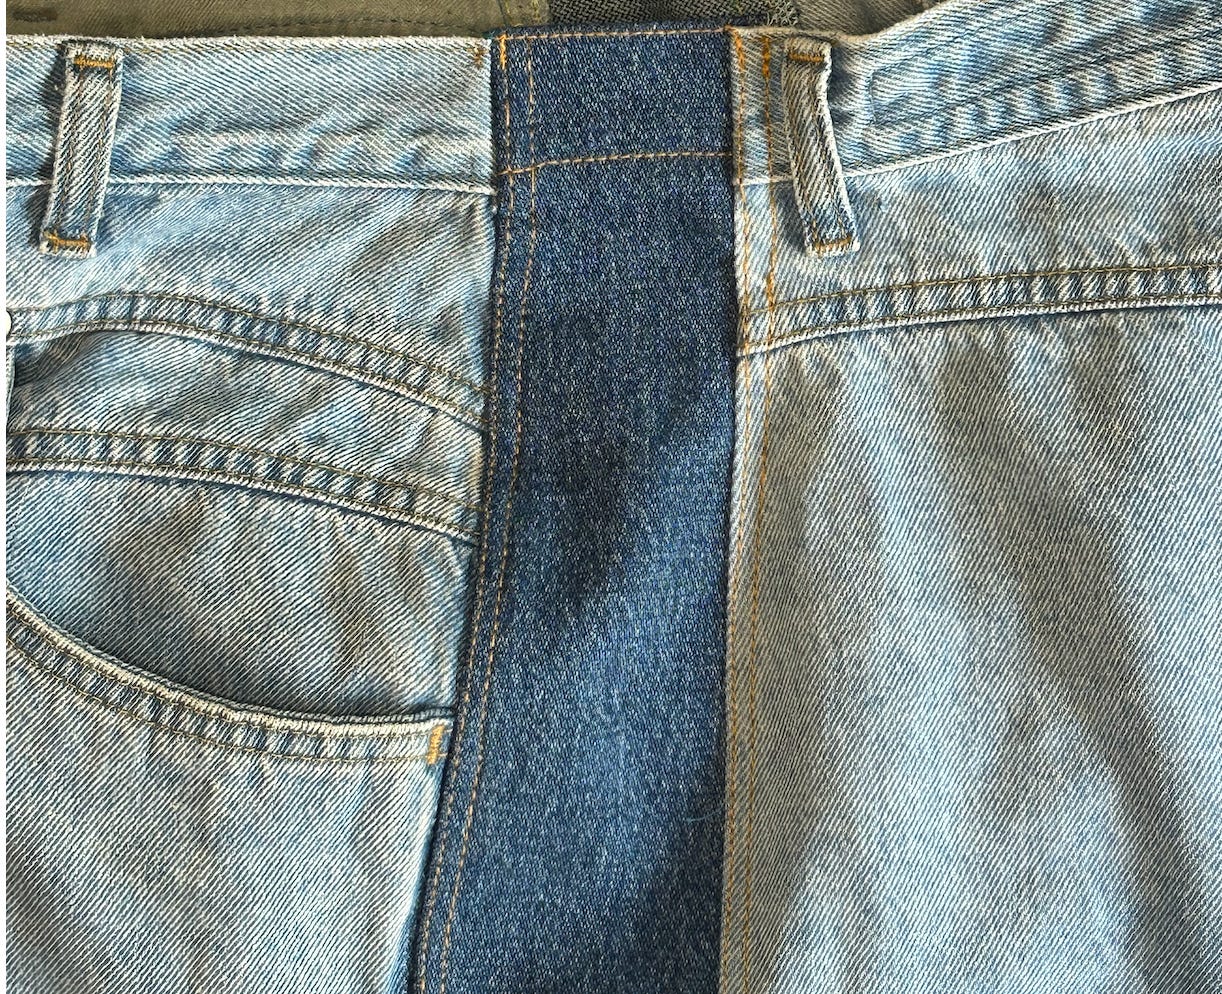
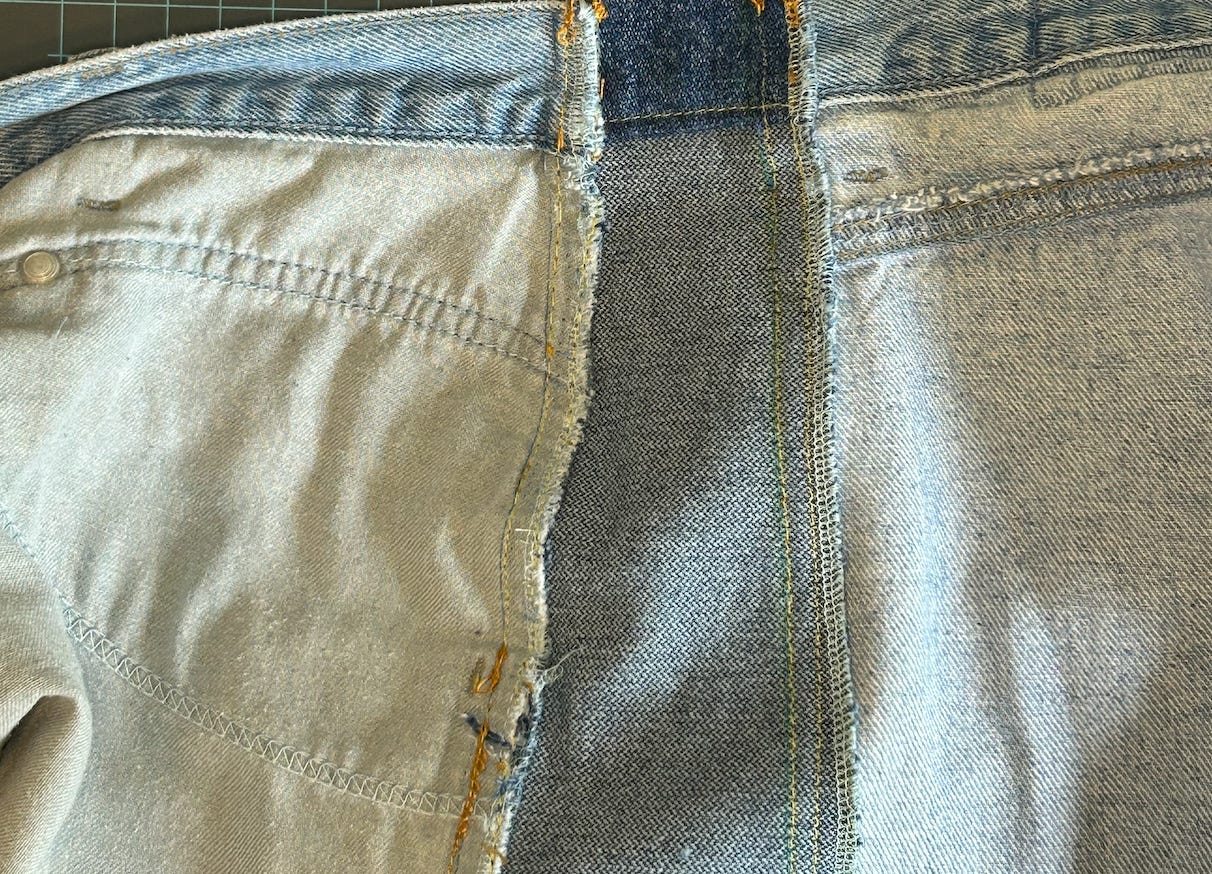
Finally, use an iron to press the seams flat. Press the seam attached to the back of the shorts towards the back, and press the seam attached to the front of the shorts towards the front. With the right side of your shorts facing up as you sew, and using your top stitching thread, sew a top stitch 1/16” away from the seam, sewing down the excess fabric from the seam allowance. Repeat this step, 7/8” away from the first top stitch.
Note: If your panels are the same color as your shorts, and not a contrasting color, use a top stitching thread that matches the color of your shorts.
Repeat again on the other side of the panel.
7. Insert the second panel
Repeat steps 5 & 6 on the other side of the shorts.
Finished with Part One!
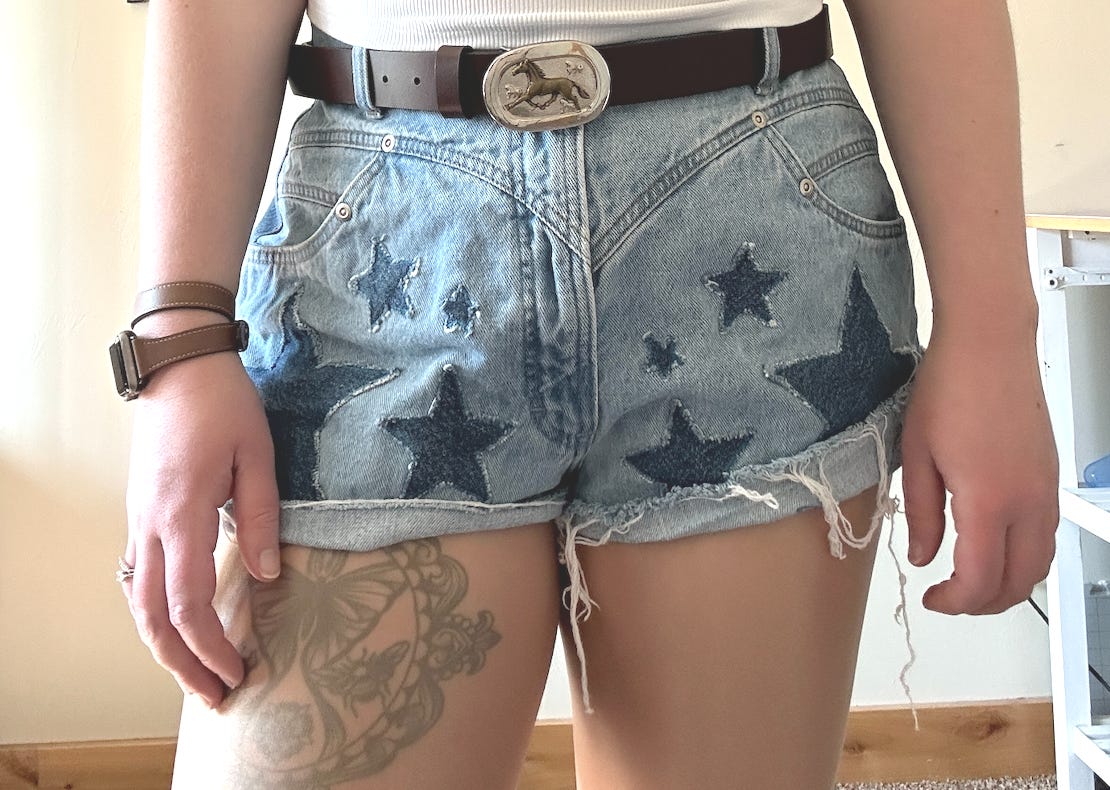
Once you have sewn in and added top stitching to both side panels, you are finished with part one! See you back in a couple weeks to finish up the shorts, including adding the denim stars 🤩✨💫
xo,
Nem
Keep reading with a 7-day free trial
Subscribe to bitches make stitches: a newsletter by thread rose crafts to keep reading this post and get 7 days of free access to the full post archives.